
"I bought your WC video and have been avidly following all of the posts this week - a couple of things I am still grappling with for my kit and I hope you can answer:
"1) How do you protect your brushes from damage with all the jostling they get in a to-go pack? If they are loose in a container the tips can get damaged and that seems a pity particularly for expensive sable brushes. I am also having a problem finding something big enough for short handle brushes that isn't so long that it is hard to pack - any suggestions?"
Thanks, Marque. I keep my brushes loose in a box. The tips are safe as long as the box stays parallel to the ground, but in my belt pouch the box never tips on end. Sometimes if I'm worried about a delicate brush I keep the plastic protector from when it was new and slip that on. I keep the brushes all facing one end of the box. If one needs a good washing out later, I face it the other way in the box so that I'll recognize it right away.
I'm always on the lookout for a box that's just long enough for most short handled brushes but not too big, and one that opens quietly. If a brush is too long to fit in the box, such as an oil brush, I chop it down.

Jeanette uses a brush holder made of stiffened fabric. The brushes tuck into elastic bands, and the whole thing folds open to display the brushes while you're working. When in transit it rolls up and is held with Velcro. I like it except that it's a little too long for my belt pouch.
"2) If you are holding your sketchbook on your lap (vs. using the stiff board behind) how do you manage that with the landscape format? It is pretty floppy and somewhat of a balancing act. The only thing I could think of was to put a binder clip across the gutter/hinge area to help stabilize it."
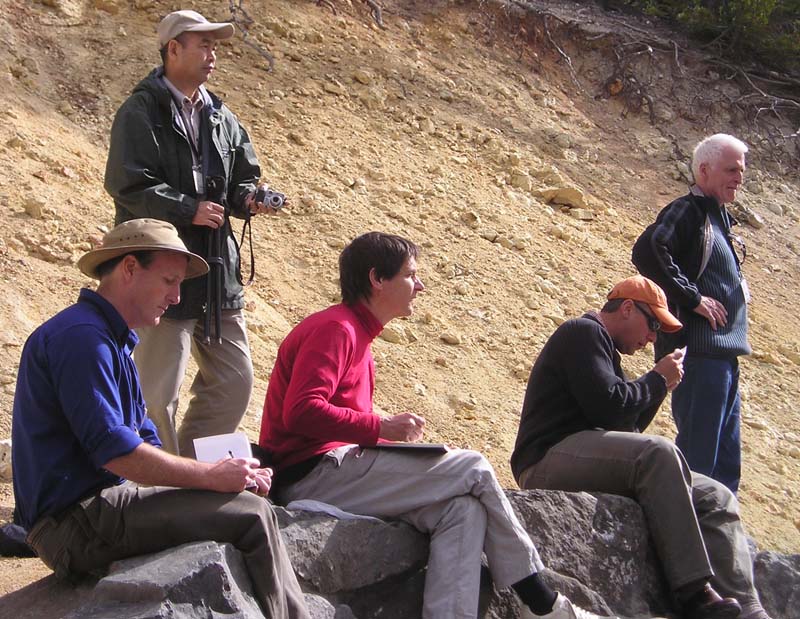 |
| Sketching at Yellowstone with friends from the ASAI |
Glenn wondered about the sketchbook pochade rig, asking if I countersunk the T- nuts
Glenn, Yes, I countersink the T-nut flange using a 3/4 inch spade bit, then glue the T-nut in with Gorilla Glue

For you scratch builders, here's the pochade laid out flat. The red dots on the paint tray are magnet positions, which hold on the metal mixing trays or watercolor kits.

Here is the underside with two quick release plates attached. My new iteration of the rig has three T-nuts, one just right of center and one on each end. I use the central support point if I only have one tripod, and I use the two on the end if I need two tripods to keep the rig more stable when filming.


"Watercolor: BONUS FEATURES" (Gumroad via Credit Card)
"Watercolor: BONUS FEATURES" (Sellfy via Paypal)
And here are links for the main feature:
"Watercolor in the Wild" HD download: (Credit Card)
"Watercolor in the Wild" HD download: (Paypal)
"Watercolor in the Wild" DVD: (NTSC, Region 1)
Finally, three reviews:
"DVD Review: James Gurney’s Instructional Video 'Watercolor in the Wild'" by Marc Holmes, Urban Sketchers
"Plein Air Revolution" by Brad Teare, Thick Paint Blog
"DVD Review: Watercolor in the Wild" by Dan Dos Santos, Muddy Colors
"DVD Review: Watercolor in the Wild" by Dan Dos Santos, Muddy Colors